


IVF Process
IVF Process: Step-by-Step IVF Procedure Explained
Content Last Reviewed on: May 01, 2026
Overview
About
Timeline
Stages
Pre IVF Preparation
Ovarian Stimulation
Cycle Monitoring
Final Maturation
Egg Retrieval
Sperm Collection
Embryo Culture
Embryo Transfer
Luteal Phase
Preparation
Expectation
Pain
Result
FAQ
At Ferty9 Fertility Center, we believe that knowing exactly what to expect reduces anxiety and empowers you on your journey to parenthood. An IVF cycle is a structured medical process that typically takes 4 to 6 weeks from start to finish. Here is a detailed breakdown of the IVF treatment process, explained simply so you can walk into our clinic with confidence.
About IVF Process
The IVF process is a step-by-step fertility treatment that explains how IVF works to help pregnancy.That involves stages such as ovarian stimulation, egg retrieval, fertilization in a laboratory, and embryo transfer into the uterus. Doctors plan and monitor each stage to improve success rates and safety. A typical IVF cycle takes about 4 to 6 weeks, depending on individual response and treatment plan.
Dr. Sneha explains about IVF Treatment
IVF Process Timeline: How Long Does IVF Take?
From the first consultation to embryo transfer, it generally takes about 4 to 6 weeks to complete one cycle.
However, timelines can differ based on:
- How your body responds to stimulation
- The type of IVF plan recommended
- Doctors may transfer embryos immediately or in a later cycle.
Your fertility specialist creates a treatment timeline based on your condition.
IVF Process Step by Step: Stages of IVF Treatment
The IVF treatment process includes several stages, each designed to support fertilisation and pregnancy.
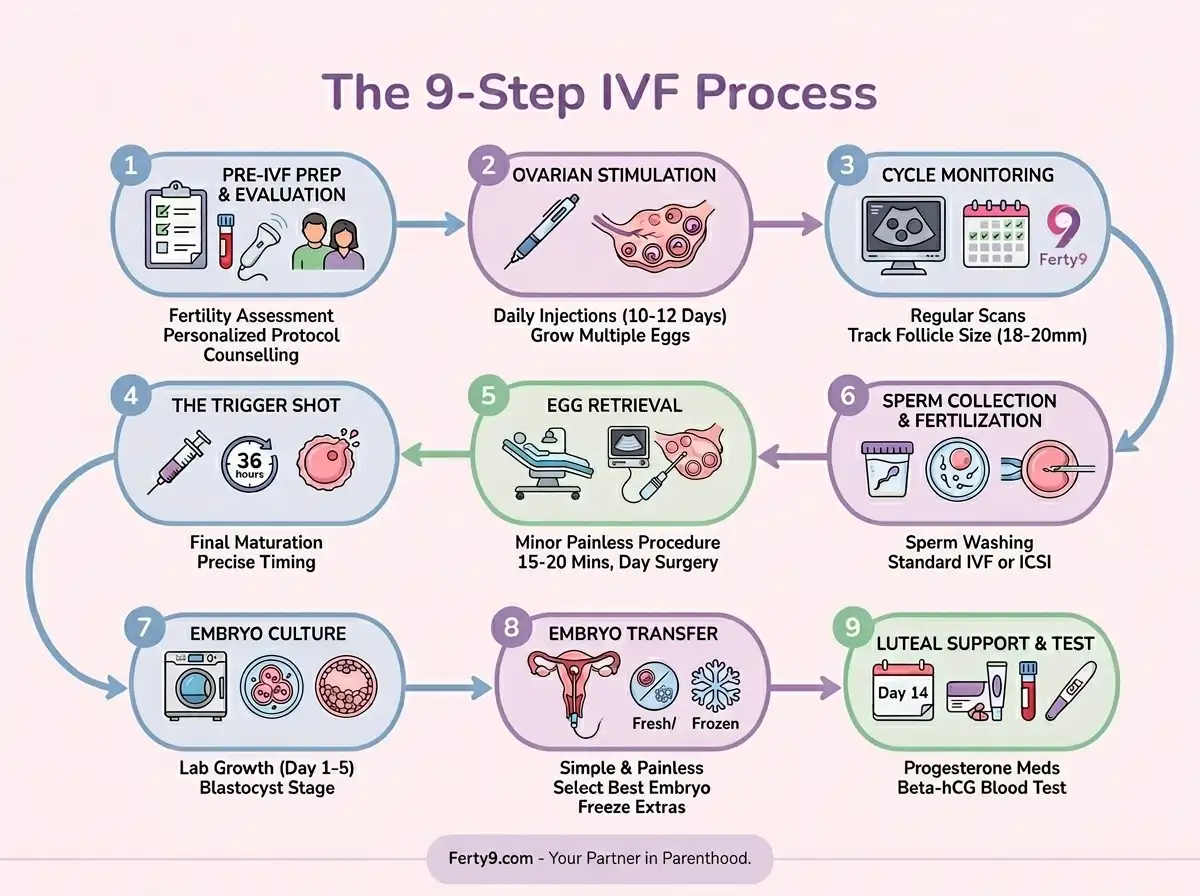
Here are the IVF procedure steps explained step by step in detail:
Step 1: Pre-IVF Preparation & Evaluation
Before the actual cycle begins, we ensure your body is ready for the best possible outcome.
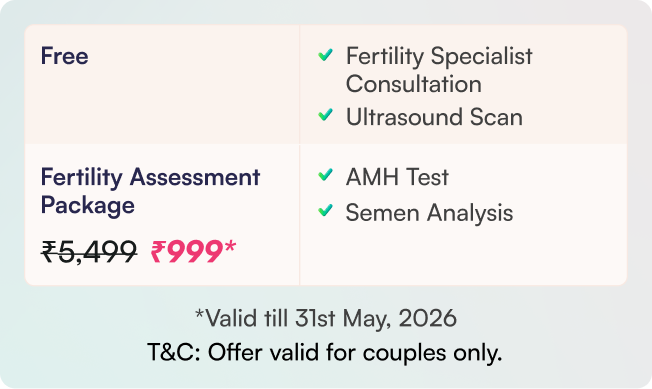
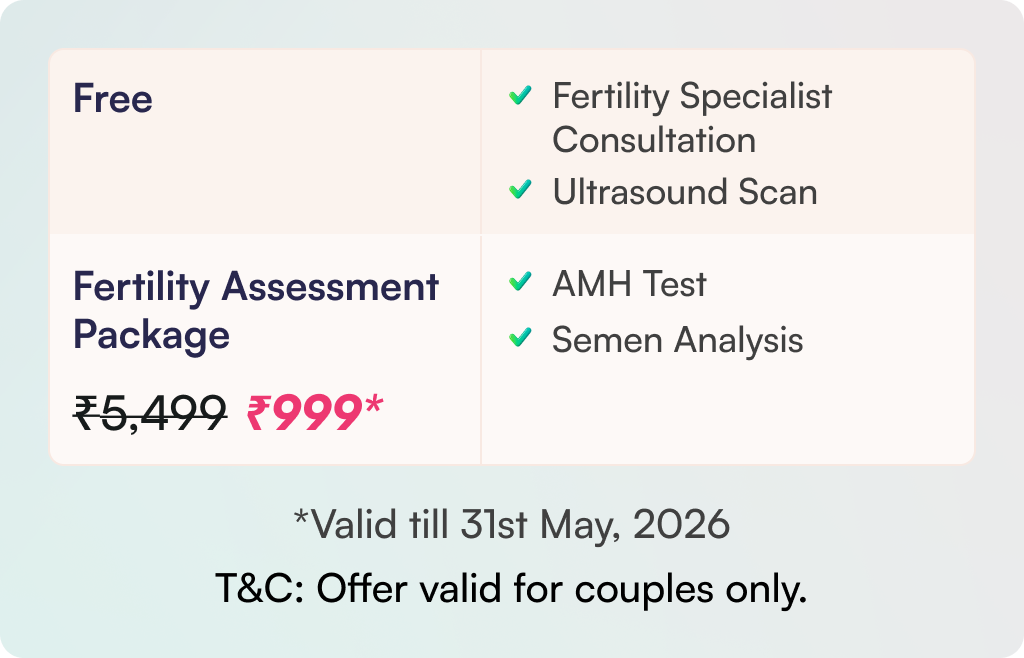
- Fertility Assessment: For women, we conduct essential blood tests (like the AMH test to check egg reserve) and an ultrasound scan to check the health of the uterus. The male partner undergoes a detailed Semen Analysis.
- Personalized Protocol: Based on your reports, age, and weight, our specialists design a specific “treatment plan” just for you. We decide the exact dose of medication needed to produce the best quality eggs.
- Counselling: Our fertility nurses explain the timeline and teach you how to take the medications safely at home.
Step 2: Ovarian Stimulation (Growing the Eggs)
- Timeline: Starts on Day 2 or 3 of your period, lasts for 10-12 days.
- The Goal: In a natural cycle, you release only one egg. In IVF, we need multiple eggs to increase your chances of success.
- Injections: You will take daily hormone injections (Gonadotropins) to stimulate your ovaries. These act like “food” for your eggs, helping them grow.
- Is it painful? Most patients are surprised by how easy this is! We use advanced “pen-style” needles that are very thin and cause minimal discomfort, similar to a mosquito bite or a diabetic insulin shot.
Step 3: Cycle Monitoring (Follicular Study)
You are never doing this alone. During the stimulation phase, you will visit Ferty9 every 2 to 3 days.
- What happens: We perform transvaginal ultrasound scans to measure the size of your growing follicles (fluid sacs containing eggs).
- Why it matters: This helps us adjust your medication dose accurately. We want the follicles to reach the ideal size of 18mm to 20mm.
Step 4: The “Trigger Shot” (Final Maturation)
- Timeline: Exactly 34–36 hours before egg collection.
- The Crucial Step: Once the follicles are ready, you take one final injection called the HCG Trigger Shot.
- Precision: This injection tells the eggs to mature and loosen from the follicle wall. You must take this shot at the exact time instructed by your nurse (usually late at night).
Step 5: Egg Retrieval (Ovum Pick-Up)
- Timeline: Day 0 (The day of the procedure).
- The Procedure: This is a minor surgical procedure done at our centre.
- Painless Experience: You will be given mild sedation (anaesthesia), so you will sleep through the process and feel no pain.
- How it works: The doctor uses a thin ultrasound-guided needle to gently suction the eggs from the ovaries. The process takes only 15 to 20 minutes.
- Recovery: You can go home after resting for 2-3 hours. No overnight hospital stay is needed.
Step 6: Sperm Collection & Fertilization
While the eggs are being collected, the male partner provides a fresh semen sample.
- Sperm Washing: Our lab uses advanced “density gradient” techniques to filter the sample, selecting only the healthiest, fastest-moving sperm.
- Fertilization:
- Standard IVF: Healthy sperm are placed in a dish with the eggs to fertilize naturally.
- ICSI (Intracytoplasmic Sperm Injection): For male infertility cases, our expert embryologist injects a single healthy sperm directly into each egg to ensure fertilization.
Step 7: Embryo Culture (Growing the Baby)
- Timeline: Day 1 to Day 5 after retrieval.
- The Lab Phase: The fertilized eggs (now called embryos) are kept in high-tech incubators that mimic the human womb.
- Blastocyst Culture: At Ferty9, we strive to grow embryos to Day 5 (Blastocyst stage). Day 5 embryos are stronger and have a significantly higher chance of implantation than Day 3 embryos.
Step 8: Embryo Transfer
- Timeline: Day 5 (Fresh Transfer) or Next Cycle (Frozen Transfer).
- The “Magic” Moment: The best quality embryo is selected for transfer.
- The Procedure: This is a simple, painless step that feels like a Pap smear. The doctor uses a soft, thin tube to gently place the embryo into your uterus.
- No Anaesthesia: You remain awake and can watch the process on the ultrasound screen.
- Freezing: Any extra high-quality embryos are frozen (cryopreserved) for future attempts, saving you the cost of a full cycle later.
Step 9: Luteal Phase Support & The Test
- Timeline: 14 Days after transfer.
- Medication: You will take Progesterone support (capsules or gel) to prepare your uterine lining to hold the pregnancy.
- The Result: Two weeks after the transfer, we perform a Beta-hCG blood test to confirm your pregnancy. This is the most accurate way to detect if the procedure was successful.
Ready to take the first step? Book a consultation with Ferty9 Fertility Center today and let us guide you through your personalized IVF journey.
What Do You Do to Prepare for IVF Treatment?
Preparing for IVF involves both physical and emotional readiness.
- Follow your doctor’s advice: Complete all tests and take medications as prescribed
- Take care of your health: Eat a balanced diet, stay active, and avoid smoking or alcohol
- Be mentally prepared: It’s normal to feel unsure, understanding the process helps
At Ferty9, our team guides you at every step so you feel informed and prepared.
What Can You Expect After IVF Treatment?
After the embryo transfer, there is a waiting period of about two weeks before the pregnancy test.
You may experience:
- Mild cramping or bloating
- Light spotting in some cases
- Mood changes due to hormonal support
During this time, continue your medications, avoid heavy activity, and follow your doctor’s instructions. A pregnancy test after 14 days will confirm the result.
How Painful is the IVF Process?
Many couples are concerned about pain, but most steps in IVF involve only mild discomfort.
- Injections feel like small pinches
- Egg retrieval is done under sedation, so you don’t feel pain
- Embryo transfer is simple and painless
Overall, IVF is well-tolerated and designed to be as comfortable as possible.
Results After IVF Procedure
IVF results can vary depending on factors such as age, egg and sperm quality, and overall health.
- Some couples conceive in the first cycle
- Others may need more than one cycle
- Frozen embryos provide additional chances without repeating the full process
At Ferty9, we focus on personalized treatment and advanced techniques to improve your chances of a healthy pregnancy.


Learn More About:
• What is IVF
• IVF Success Rate
• Why Choose Ferty9
• IVF Cost
• IVF Second Opinion
• IVF Frequently Asked Questions
*Disclaimer
The information on this website, including IVF success rates, costs, and treatment details, is for general informational purposes only. Success rates and costs are indicative and may vary based on individual factors such as age, medical condition, diagnosis, treatment type, and centre location, and do not guarantee outcomes or final charges. All treatments and recommendations are based on individual medical evaluation, and this content should not be considered medical advice. For accurate and personalised information, please consult a fertility specialist at Ferty9.
This page was last updated on :
2 May 2026Your IVF Questions, Answered. Book a Free Consultation with our Leading Fertility Specialists.
Contact UsFor most patients, the “two-week wait” between the embryo transfer and the final pregnancy blood test is the most emotionally challenging and anxiety-inducing phase.
Mental preparation helps you manage the inevitable stress, make clear decisions, and prevent severe emotional burnout during the demanding stages of the cycle.
Blastocyst culture is used in IVF to improve the selection process of embryos for transfer. By allowing embryos to develop longer, embryologists can identify the embryos with the highest chances of successful implantation and pregnancy. Blastocyst culture provides a more accurate assessment of embryo quality, as only the embryos that have reached the blastocyst stage are selected for transfer. This technique increases the success rates of IVF treatments and reduces the chance of multiple pregnancies by transferring a smaller number of high-quality embryos.
One full cycle of IVF takes about 4 to 6 weeks from the start of stimulation medication to the pregnancy test.
IVF involves ovarian stimulation, egg retrieval, fertilization in laboratory, embryo culture, and transfer. The process typically takes 4-6 weeks with careful monitoring at each stage to optimize success rates and ensure patient safety throughout treatment.
The IVF process typically takes 4 to 6 weeks. This includes the initial consultation, ovarian stimulation, egg retrieval, fertilisation, and embryo transfer. If frozen embryo transfer (FET) cycles are used, it might take an additional 2 to 4 weeks. The exact duration depends on the couple’s individual response and medical condition.
The duration of an IVF treatment cycle can vary and depends on the specific approach and the individual’s response to the fertility medications. Generally, a conventional IVF cycle can take approximately 4-6 weeks from the start of the menstrual cycle to the embryo transfer. However, the timeline may be shorter or longer depending on various factors, such as the patient’s response to stimulation, the number of eggs retrieved, and the time required for fertilisation and embryo development.
At Ferty9, we are committed to continuous quality improvement. Our laboratory implements stringent quality control measures, including regular testing and validation of equipment, reagents, and processes, to ensure consistent and reliable results. With strict adherence to safety protocols and employment of the latest and most advanced IVF techniques, we have improved the chances of successful outcomes.
Managing stress is crucial during the IVF process, as elevated levels of stress can disrupt the delicate hormonal balance required for ovulation and embryo implantation, potentially reducing the chances of a successful pregnancy. Additionally, stress can take a toll on an individual’s emotional and physical well-being, making it more challenging to cope with the demands of fertility treatments.
The RI Witness System’s improved tracking and communication features can help clinics provide patients with more transparent and accessible information about their treatment status. This enhanced communication, coupled with the system’s reliability and security, can foster a greater sense of partnership and collaboration between clinicians and patients, ultimately supporting them through the emotional and complex IVF journey.
A fertility alarm, such as the Xiltrix Alarm System, enhances safety during IVF procedures by continuously monitoring critical environmental factors like temperature, humidity, and power supply. It can detect deviations from optimal conditions and trigger immediate alerts, allowing fertility clinic staff to swiftly address any issues and maintain the delicate balance required for successful embryo and gamete development.
- Fertility Clinic in Hyderabad
- Fertility Clinic in Kukatpally
- Fertility Clinic in Lb Nagar
- Fertility Clinic in Secunderabad
- Fertility Clinic in Banjara Hills
- Fertility Clinic in Visakhapatnam
- Fertility Clinic in Vijaywada
- Fertility Clinic in Karimnagar
- Fertility Clinic in Warangal
- Fertility Clinic in Rajahmundry
- Fertility Clinic in Tirupati
- Fertility Clinic in Kurnool
- Fertility Specialist in Hyderabad
- Fertility Specialist in Kukatpally
- Fertility Specialist in Lb Nagar
- Fertility Specialist in Secunderabad
- Fertility Specialist in Banjara Hills
- Fertility Specialist in Visakhapatnam
- Fertility Specialist in Vijaywada
- Fertility Specialist in Karimnagar
- Fertility Specialist in Warangal
- Fertility Specialist in Rajahmundry
- Fertility Specialist in Tirupati
- Fertility Specialist in Kurnool
 No need to worry, your data is 100% safe with us!
Book an Appointment
✔ No need to worry, your data is 100% safe with us!