


ICSI Process
Content Last Reviewed on: Mar 19, 2026
Step-by-Step Process of ICSI Treatment
Intracytoplasmic Sperm Injection (ICSI) is a highly precise procedure performed in our embryology laboratory. While the preparation for the patient is very similar to a standard IVF cycle, the magic happens under the microscope.
Here is a detailed process of what happens during an ICSI cycle, from the initial preparations to the embryo transfer.
Phase 1: Stimulation and Retrieval (Patient Preparation)
Before the ICSI procedure can happen in the lab, we must collect the eggs and sperm.
- Ovarian Stimulation
Just like in standard IVF, the female partner takes fertility medications (injections) for about 10 to 12 days.
- Goal: To encourage the ovaries to produce multiple mature eggs instead of just one.
- Monitoring: During this time, you will visit the clinic for ultrasound scans to check the size of the follicles (fluid sacs containing the eggs).
- Egg Retrieval
Once the eggs are mature, they are collected via a minor procedure called “Ovum Pick Up” (OPU).
- This is a quick 15-20 minute process done under mild sedation.
- The doctor uses a thin needle guided by ultrasound to gently suction the eggs from the ovaries.
- The eggs are immediately passed to the embryology lab in a sterile test tube.
Phase 2: Sperm Collection and Preparation
While the eggs are being collected, the sperm sample is prepared.
- Sample Collection
- Standard Collection: The male partner provides a fresh semen sample via masturbation on the same day as the egg retrieval.
- Surgical Retrieval (TESA/PESA): If there is no sperm in the ejaculate (azoospermia), our specialists may perform a minor procedure to extract sperm directly from the testicles or epididymis.
- Frozen Sperm: If a frozen sample is being used, it is thawed in the lab at this time.
- Sperm Washing
The raw semen is washed and spun in a centrifuge. This separates the moving sperm from the seminal fluid, debris, and dead cells.
- Selection
This is where ICSI differs from IVF. In standard IVF, we just need a good concentration of sperm. In ICSI, the embryologist uses a high-powered microscope to look for the single best sperm. They look for a sperm that is moving vigorously and has a perfect shape (morphology).
Phase 3: Preparing the Eggs (Denudation)
Before injection, the eggs must be cleaned. When eggs are retrieved, they are surrounded by a cloud of protective cells called “cumulus cells.”
- In Standard IVF: These cells are left on, and the sperm must chew through them.
- In ICSI: These cells must be removed so the embryologist can see the egg clearly. We use a special enzyme and gentle washing to strip away these outer cells. This process is called Denudation. Only mature eggs are suitable for ICSI.
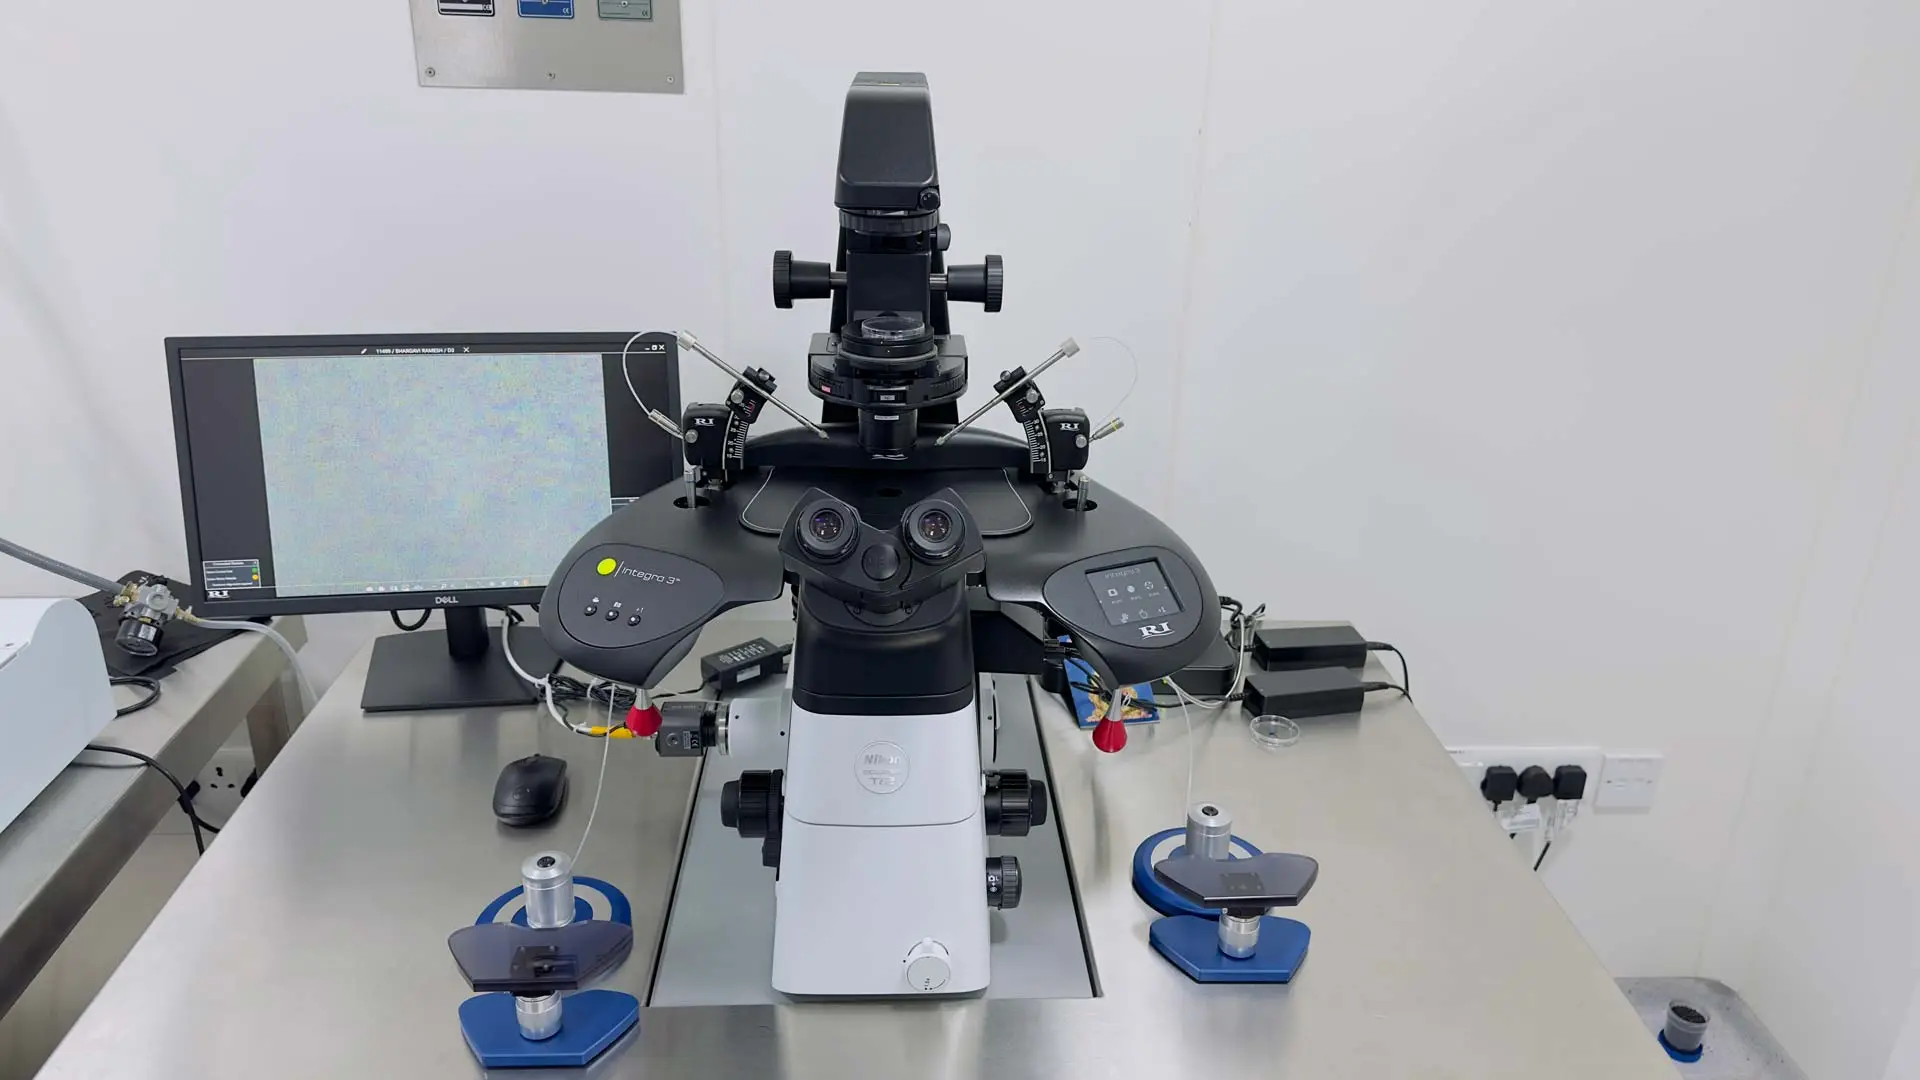
Phase 4: The ICSI Procedure (The Micro-Injection)
This is the most critical and delicate step, performed using a specialized machine called a Micromanipulator.
- Holding the Egg: The mature egg is held in place gently by a glass holding pipette (a thin tube) using mild suction.
- Immobilizing the Sperm: The embryologist picks up the selected single sperm using a tiny, sharp glass needle. To ensure the sperm stays still inside the egg, its tail is gently tapped to stop it from moving.
- Injection: The needle, containing the single sperm, is carefully pushed through the outer shell (zona pellucida) of the egg and into the center (cytoplasm).
- Release: The sperm is gently released inside the egg, and the needle is slowly withdrawn.
- Completion: This process is repeated for every mature egg available. The injected eggs are then placed in a specialized culture dish with nutrient media.
Phase 5: Fertilization Check (Day 1)
The morning after the procedure (Day 1), our embryologist checks the eggs under a microscope.
- They look for signs of fertilization, specifically the appearance of two “pronuclei” (one from the egg and one from the sperm).
- If these are seen, it means the ICSI was successful, and an embryo has begun to form.
Phase 6: Embryo Culture (Days 2 to 5)
The fertilized embryos are kept in incubators that mimic the environment of the human fallopian tubes. They are monitored daily for growth:
- Day 2-3: The embryo divides into 4 to 8 cells (Cleavage stage).
- Day 5: The embryo becomes a Blastocyst, a complex structure with hundreds of cells. This is the ideal stage for transfer as it has a higher chance of implantation.
Phase 7: Embryo Transfer
Once the embryos have developed nicely, the final step is to place them back into the uterus.
- Selection: The healthiest embryo (or embryos) is selected.
- The Procedure: The embryo is loaded into a soft catheter. The doctor gently guides this catheter through the cervix and deposits the embryo into the womb.
- Freezing: Any extra high-quality embryos remaining after the transfer can be frozen (vitrified) for future use.
What Happens Next?
After the embryo transfer, you will be prescribed progesterone medication to support the uterine lining. Approximately 14 days after the transfer, a blood test (Beta HCG) is performed to confirm if the embryo has implanted and resulted in a pregnancy.
This page was last updated on :
14 Apr 2026Get a clear understanding of the ICSI process from our top fertility specialists for your personalized fertility journey.
Contact Us- Fertility Clinic in Hyderabad
- Fertility Clinic in Kukatpally
- Fertility Clinic in Lb Nagar
- Fertility Clinic in Secunderabad
- Fertility Clinic in Banjara Hills
- Fertility Clinic in Visakhapatnam
- Fertility Clinic in Vijaywada
- Fertility Clinic in Karimnagar
- Fertility Clinic in Warangal
- Fertility Clinic in Rajahmundry
- Fertility Clinic in Tirupati
- Fertility Clinic in Kurnool
- Fertility Specialist in Hyderabad
- Fertility Specialist in Kukatpally
- Fertility Specialist in Lb Nagar
- Fertility Specialist in Secunderabad
- Fertility Specialist in Banjara Hills
- Fertility Specialist in Visakhapatnam
- Fertility Specialist in Vijaywada
- Fertility Specialist in Karimnagar
- Fertility Specialist in Warangal
- Fertility Specialist in Rajahmundry
- Fertility Specialist in Tirupati
- Fertility Specialist in Kurnool

 No need to worry, your data is 100% safe with us!
Book an Appointment
✔ No need to worry, your data is 100% safe with us!